
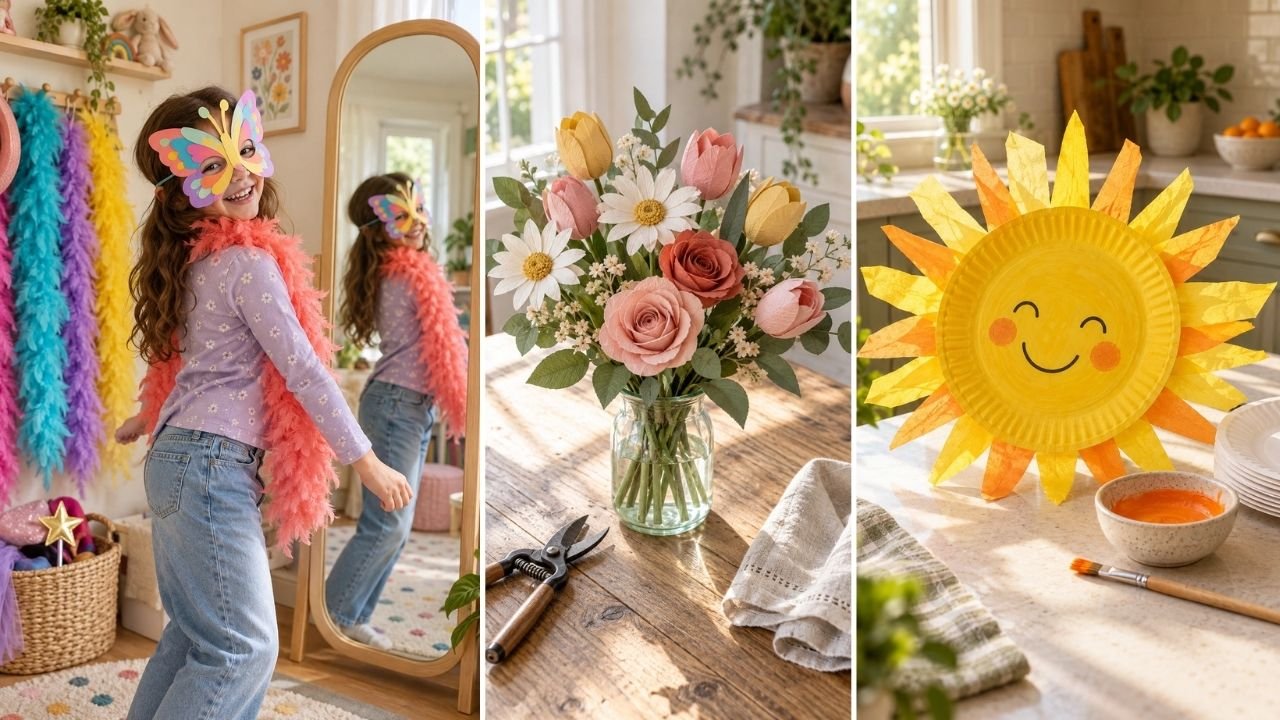
Discover 25 easy crafts with paper that turn simple sheets into fun, functional projects perfect for beginners using just scissors, glue, and imagination.
Each idea below shows a variety of paper crafts with paper, from festive garlands to handy organizers, inspiring you to create today.
1. Paper Plate Sun
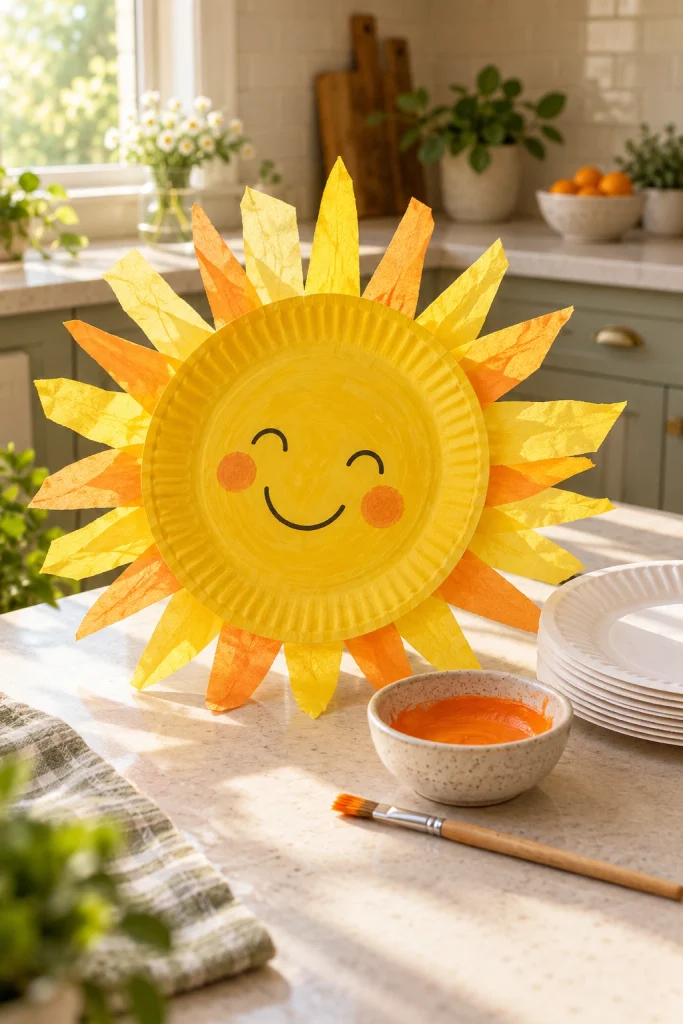
Creating a paper plate sun brightens any wall and teaches basic shape layering. Kids love watching the rays spread as they dab on paint.
- Cut triangular rays from yellow tissue and glue around the plate edge.
- Use a sponge to dab orange paint for a textured center.
- Add a smiley face with a black marker for personality.
- Hang with a ribbon loop punched at the top.
Smart tip: Tape a magnet behind for fridge display.
2. Paper Chain Garland

Linking colored strips builds a festive garland that’s easy to customize. You can involve the whole family in cutting and linking.
- Cut strips 1 inch wide and 6 inches long from various paper.
- Form a loop, glue the ends, and link the next strip through.
- Continue until desired length, alternating colors for pattern.
- Drape over mantels, windows, or doorway arches.
Quick hack: Use recycled newspaper for an eco‑friendly twist.
3. Paper Flower Bouquet
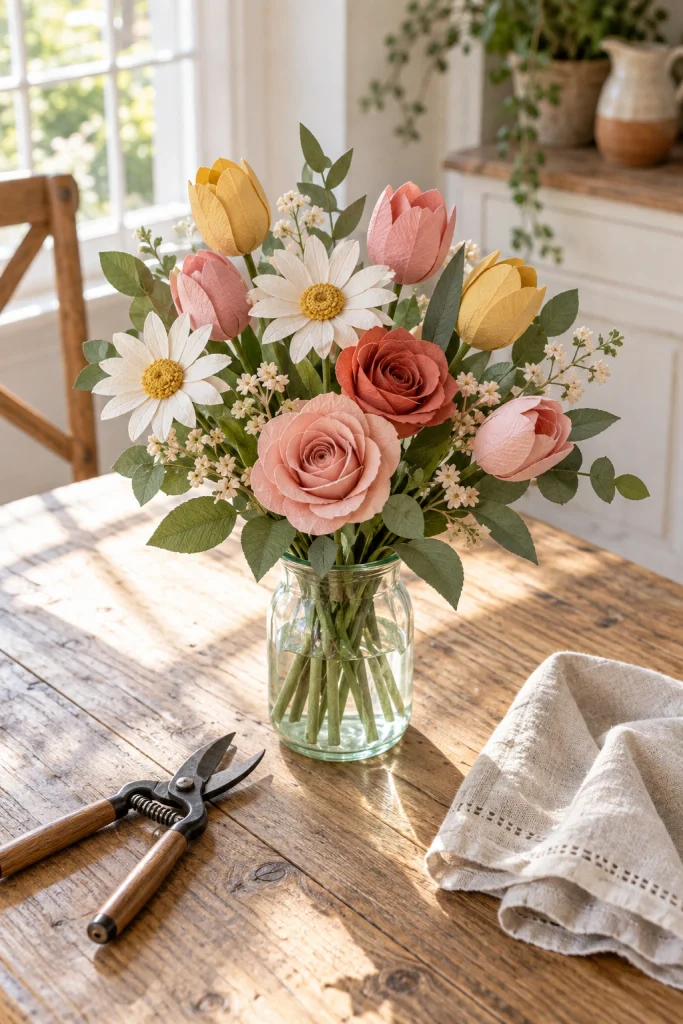
Crafting paper flowers yields lasting blooms without water or wilting. Mix sizes and colors for a lively, hand‑made centerpiece.
- Cut petal shapes from colored cardstock and curl edges with a pencil.
- Layer petals around a green pipe cleaner stem, gluing as you go.
- Add a small circle of paper for the flower center.
- Arrange several stems in a vase for a full bouquet.
Easy trick: Use a hole punch to make perfect centers fast.
4. Origami Bookmark

Folding a simple bookmark saves your page and introduces precise creases. It’s a quick, satisfying project you can make in minutes.
- Start with a square sheet, fold diagonally both ways.
- Fold each corner to the center to form a smaller square.
- Fold the bottom tip up to create the pocket.
- Slide onto a page corner to hold your place.
Simple suggestion: Use patterned paper for a stylish look.
5. Paper Cube Light
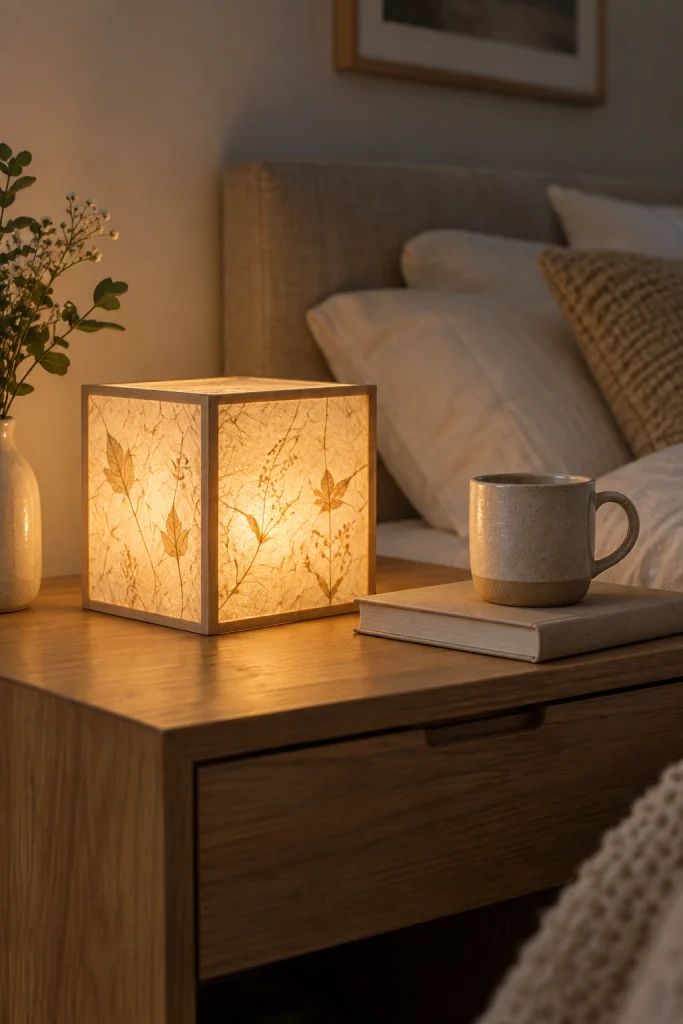
Building a paper cube lamp adds soft ambient light to any space. It’s a fun geometry project that looks striking when lit.
- Score and fold six equal squares into a cube, leaving one face open.
- Attach LED tea light inside the open face for illumination.
- Decorate exterior with washi tape or markers for flair.
- Secure with double‑sided tape on the base for stability.
Speedy hint: Use pre‑scored origami paper to save folding time.
6. Paper Mask
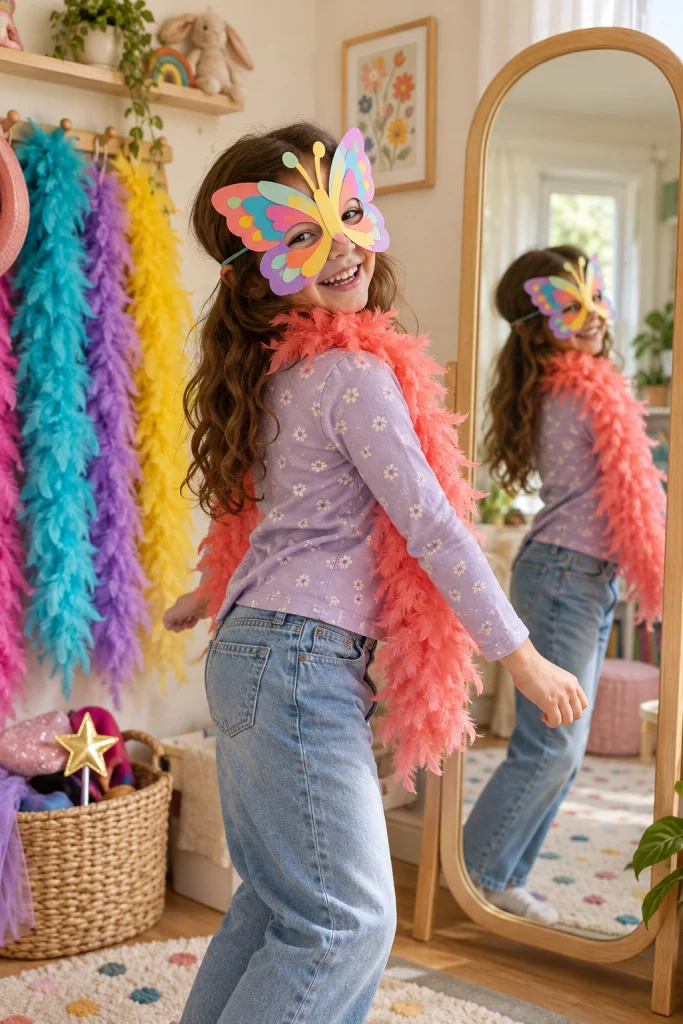
Making a paper mask lets you become any creature you imagine. It’s perfect for parties, playtime, or a quick photo prop.
- Draw a mask shape on sturdy cardstock and cut out eye holes.
- Decorate with markers, glitter, or glued‑on feathers.
- Attach an elastic band to each side for a comfortable fit.
- Try animal, superhero, or abstract designs for variety.
Handy hint: Use a paper plate as the base for added sturdiness.
7. Paper Fortune Teller
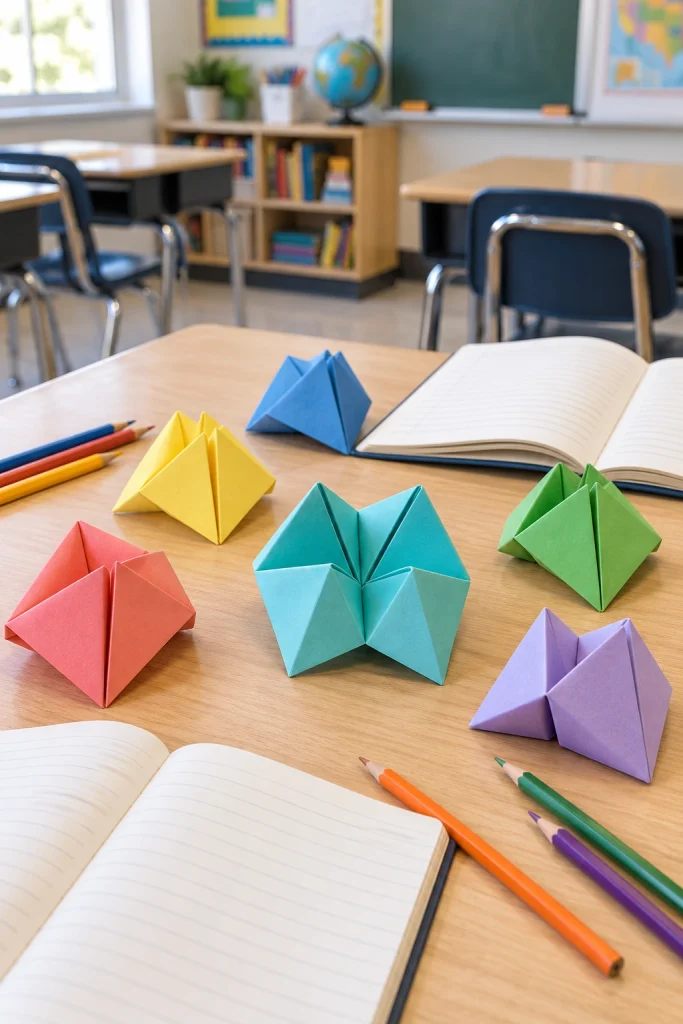
Folding a fortune teller brings nostalgic fun and interactive predictions. Kids enjoy writing their own fortunes and sharing laughs.
- Start with a square, fold corners to center, then flip and repeat.
- Label flaps with numbers or colors, and inside write fun fortunes.
- Operate by moving fingers to reveal choices and outcomes.
- Customize themes like jokes, school subjects, or secret messages.
Brief tip: Use patterned scrap paper for a decorative twist.
8. Paper Woven Placemat
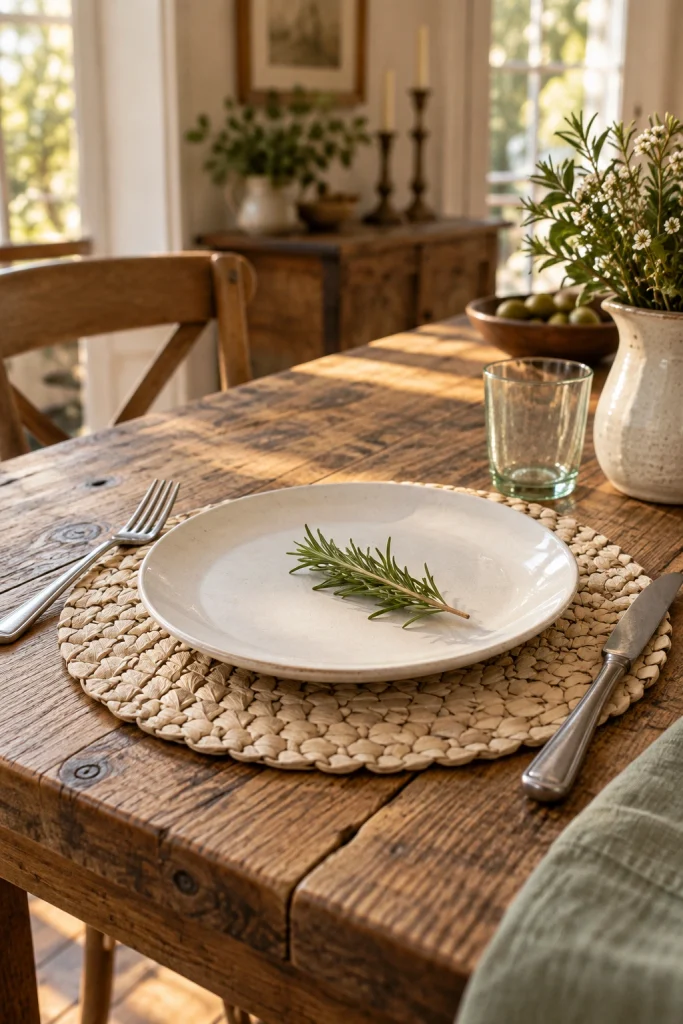
Weaving paper strips creates a durable, eco‑friendly placemat for meals. You can match colors to your dinnerware or seasonal décor.
- Cut an even number of strips for warp and weft, about ½ inch wide.
- Lay warp strips vertically, then weave weft strips over and under.
- Secure ends with a dab of glue on the backside.
- Trim edges neatly and optionally laminate for extra durability.
Straightforward suggestion: Use magazine pages for a vibrant, recycled look.
9. Paper Tube Binoculars

Turning toilet‑tube rolls into binoculars sparks imagination and outdoor play. Add a strap and decorations for a personalized explorer kit.
- Tape two tubes side‑by‑side, then wrap with colored paper or paint.
- Attach a yarn or ribbon strap to each outer edge.
- Decorate with stickers, drawings, or washi tape for flair.
- Use them to bird‑watch, spy on clouds, or pretend safari.
Neat shortcut: Add cellophane lenses for a realistic view.
10. Paper Heart Garland

Cutting and linking paper hearts makes a tender decoration for any space. Perfect for Valentine’s Day, anniversaries, or everyday love reminders.
- Fold a square in half, cut a half‑heart shape along the fold, unfold.
- Repeat with various sizes and colors, then punch a hole at the top.
- Thread a string or ribbon through the hearts, spacing evenly.
- Hang across walls, mirrors, or headboards for a soft touch.
Smart move: Use a heart‑shaped punch to speed up cutting.
11. Paper Airplane Mobile
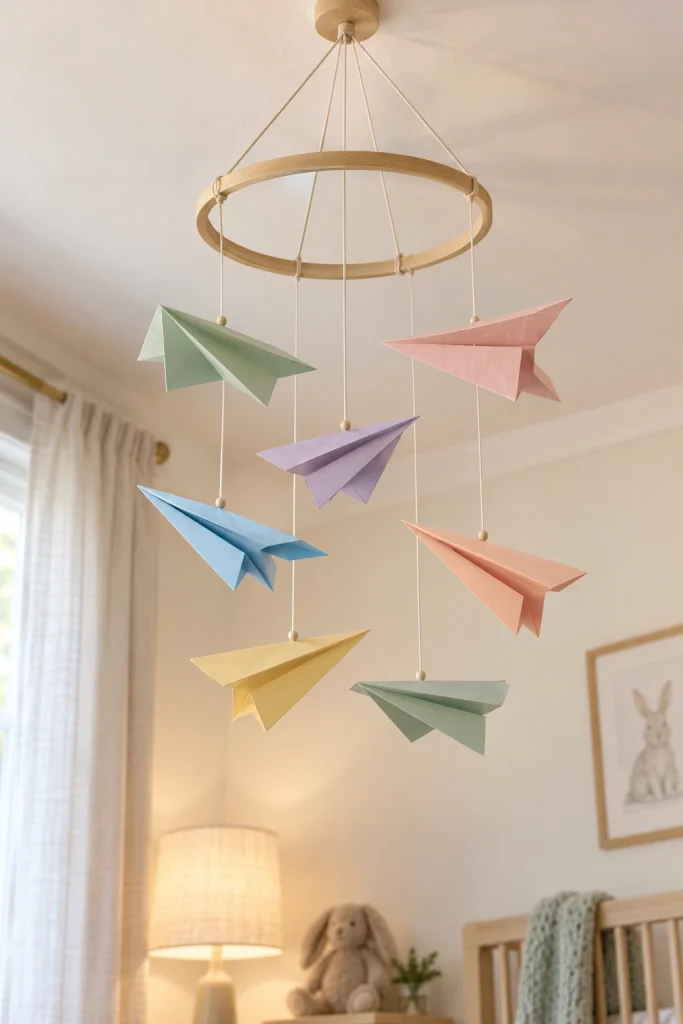
Suspending paper airplanes creates a kinetic decoration that spins with breezes. Kids love watching their creations float and twirl above them.
- Fold several airplane designs using different paper weights.
- Attach a clear thread to each plane’s fuselage with a tiny knot.
- Tie threads to a circular hoop at varying lengths for balance.
- Hang from a ceiling hook and enjoy the gentle motion.
Clever shortcut: Use pre‑creased origami paper for faster folding.
12. Paper Napkin Rings
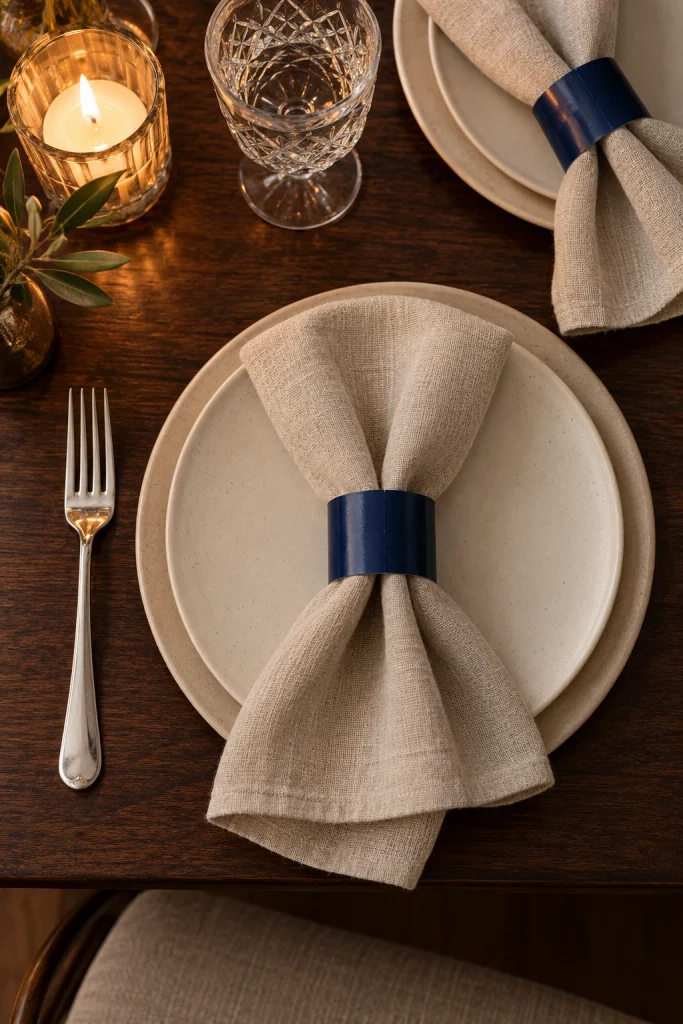
Crafting napkin rings adds a personalized touch to table settings. They’re quick to make and can match any color scheme or theme.
- Cut a strip of paper 2 inches wide and long enough to overlap.
- Wrap around a napkin, glue the overlap securely, and let dry.
- Embellish with stamps, stickers, or a thin ribbon bow.
- Slide onto napkins just before guests arrive for instant charm.
Smooth tip: Use washi tape as both wrap and decoration.
13. Paper Silhouette Art

Cutting black paper into silhouettes yields striking wall art with minimal effort. Choose a favorite scene, animal, or quote for a personalized statement.
- Print or draw a simple silhouette outline on white paper.
- Place black cardstock over it and cut out the shape with a craft knife.
- Remove the background, leaving the black shape on a contrasting backdrop.
- Mount in a frame or directly on the wall with adhesive squares.
Instant idea: Use masking tape to create clean edges while cutting.
14. Paper Bead Necklace

Rolling paper into beads creates lightweight, customizable jewelry. Experiment with magazine pages, patterned paper, or paint for unique looks.
- Cut long triangles from paper, about 1 inch wide at the base.
- Roll each triangle tightly around a toothpick, gluing the tip.
- Slide beads off the pick, coat with sealant for durability.
- String onto elastic or wire, adding clasps as desired.
Rapid fix: Use a thin dowel for uniform bead size.
15. Paper Puzzle
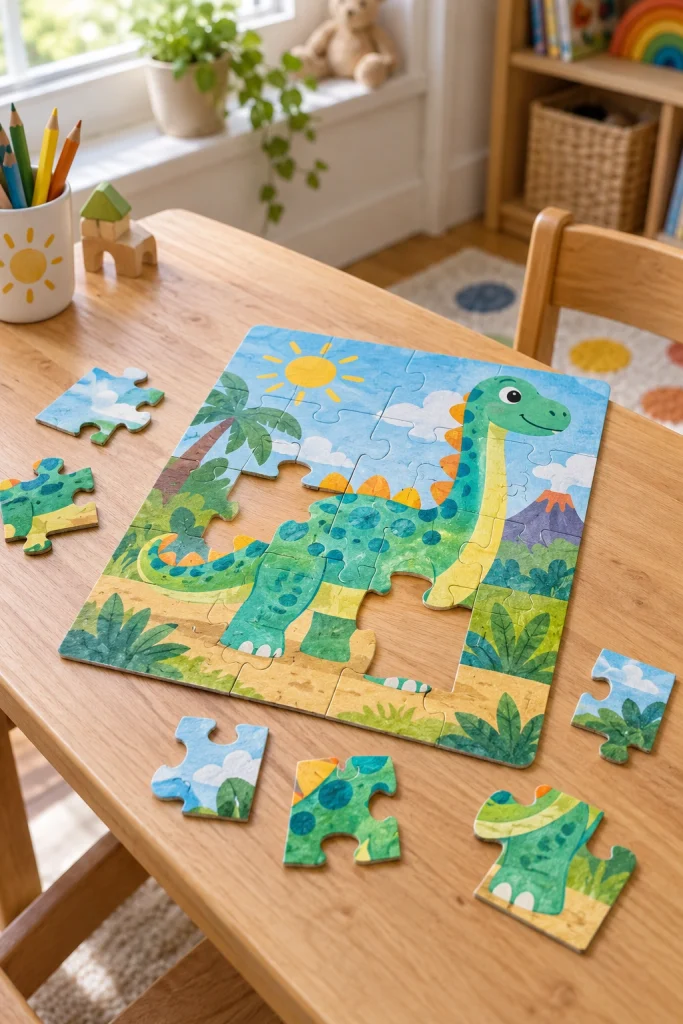
Designing a paper puzzle promotes problem‑solving and creativity. You can tailor the image and difficulty to any age or interest.
- Draw or print a picture on thick cardstock, then glue to a backing.
- Draw interlocking puzzle piece lines on the back with a pencil.
- Cut carefully along the lines with scissors or a craft knife.
- Mix pieces and challenge yourself or a friend to reassemble.
Swift suggestion: Use a ruler to keep puzzle lines straight and even.
16. Paper Lantern

Making a paper lantern adds a soft glow to outdoor or indoor spaces. Choose colors and patterns to match your décor or celebration theme.
- Fold a square sheet into an accordion, then bring ends together to form a cylinder.
- Secure with glue or tape, and attach a handle at the top.
- Place a small LED tea light inside for safe illumination.
- Hang from hooks, branches, or ceilings for a festive touch.
Neat shortcut: Use patterned scrapbook paper for instant visual interest.
17. Paper Tape Art
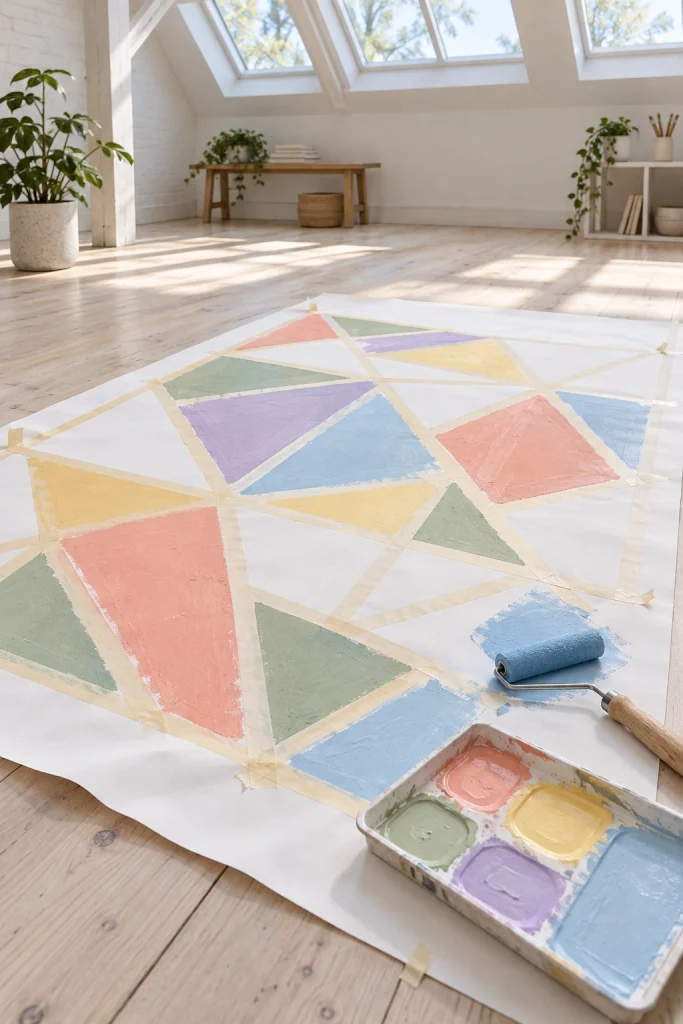
Using masking tape to create shapes yields clean, modern artwork. Peel away the tape to reveal sharp lines and vibrant negative space.
- Lay a white paper sheet on a protected surface.
- Apply masking tape in desired shapes—stripes, triangles, or abstract.
- Paint over the entire sheet with acrylic or watercolor.
- Once dry, peel tape slowly to uncover the design.
Easy trick: Use a hairdryer on low to speed paint drying between layers.
18. Paper Book Cover
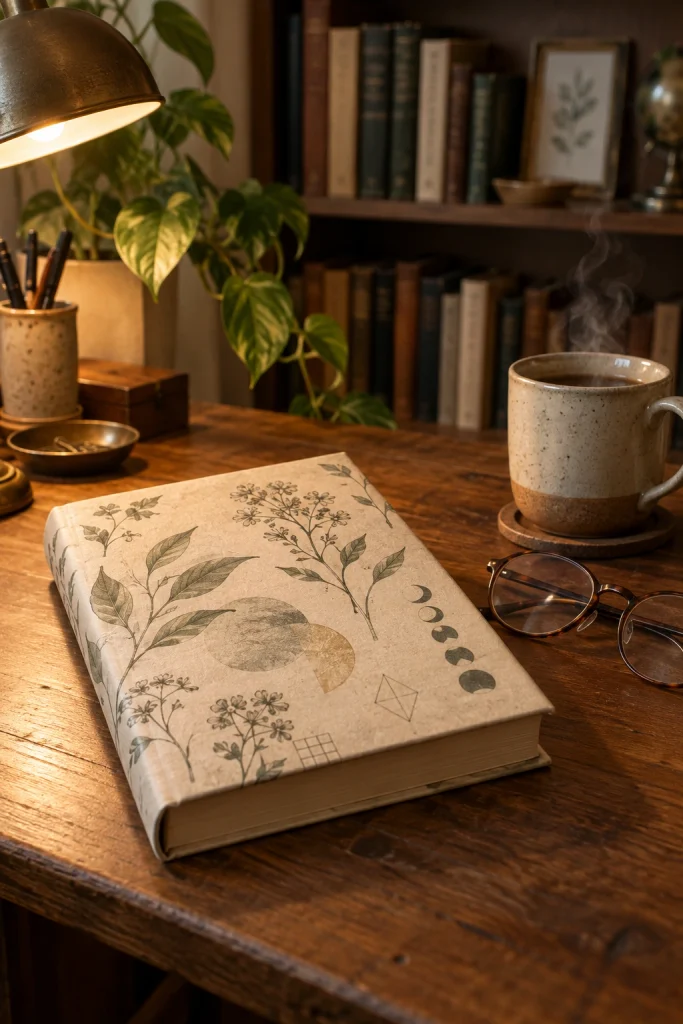
Designing a paper book cover protects your books and showcases your style. You can reuse paper bags, wrapping paper, or decorated sheets for variety.
- Measure the book’s height and width, add a few inches for flaps.
- Cut paper to size, wrap around the book, and fold flaps inside.
- Secure flaps with double‑sided tape or a dab of glue.
- Decorate the exterior with stamps, doodles, or collage elements.
Quick hack: Use self‑adhesive cover paper for a bubble‑free finish.
19. Paper Gift Tags
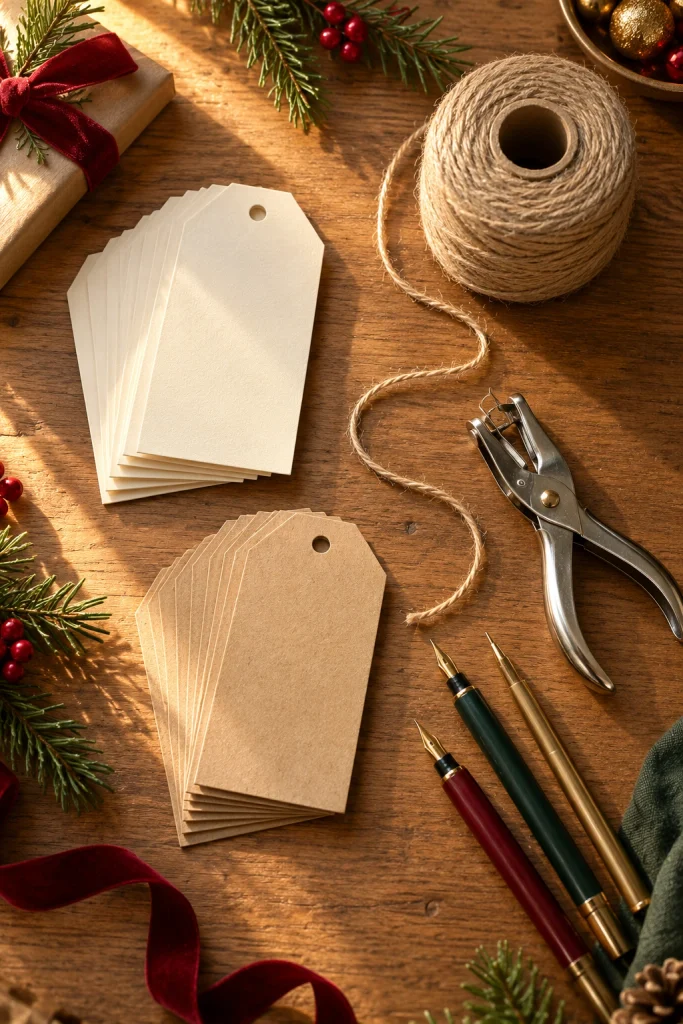
Crafting custom gift tags adds a personal touch to any present. They’re quick to make and can match the wrapping paper or occasion.
- Cut rectangles or fun shapes from cardstock, about 2×3 inches.
- Punch a hole at the top and thread a piece of twine or ribbon.
- Write names or messages with markers, stamps, or calligraphy.
- Embellish with tiny stickers, doodles, or a dab of glitter.
Fast tip: Use pinking shears for a decorative edge in seconds.
20. Paper Fan
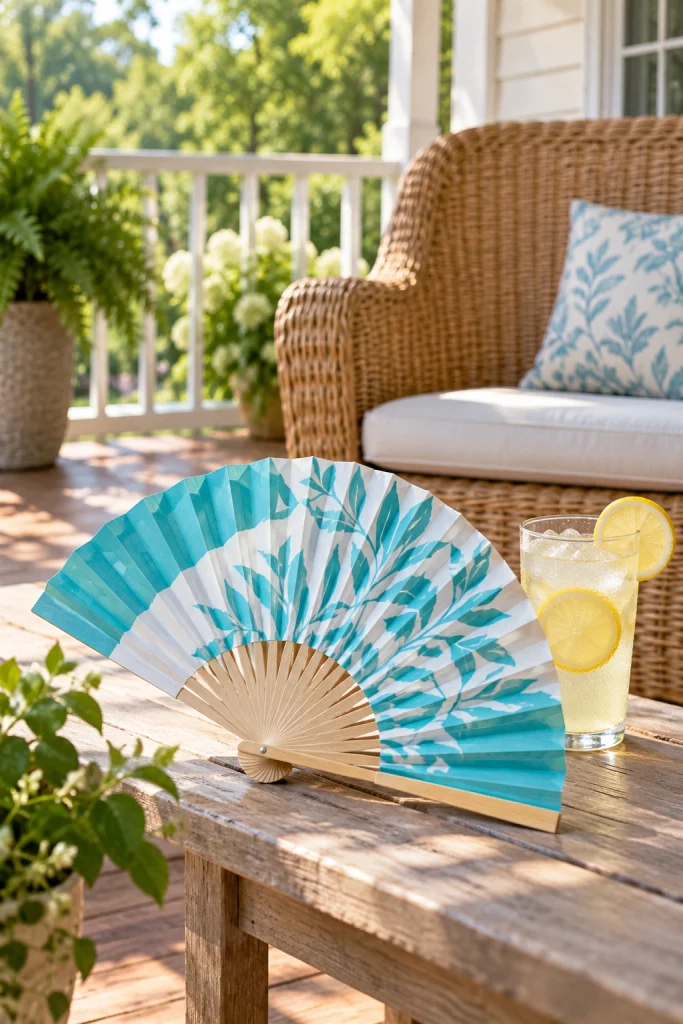
Folding a paper fan offers a portable breeze and a fun decorative accessory. You can customize colors, patterns, and sizes for any event or outfit.
- Accordion‑fold a rectangular sheet, about 1 inch wide folds.
- Secure the base with a staple, tape, or a dab of glue.
- Attach a decorative handle—craft stick, ribbon, or a wooden dowel.
- Open and close to enjoy the breeze or display as wall art.
Quick hack: Use double‑sided tape for a neat, invisible base seal.
21. Paper Snowflake

Cutting paper snowflakes brings delicate, frosty charm to windows or walls. Each fold creates unique patterns—no two are exactly alike.
- Start with a square, fold into a triangle, then into a smaller triangle.
- Cut small shapes along the edges, avoiding cutting all the way through.
- Unfold carefully to reveal the symmetrical snowflake design.
- Tape to glass or hang with thread for a sparkling effect.
Speedy hint: Use a pre‑folded snowflake template for faster cutting.
22. Paper Photo Frame
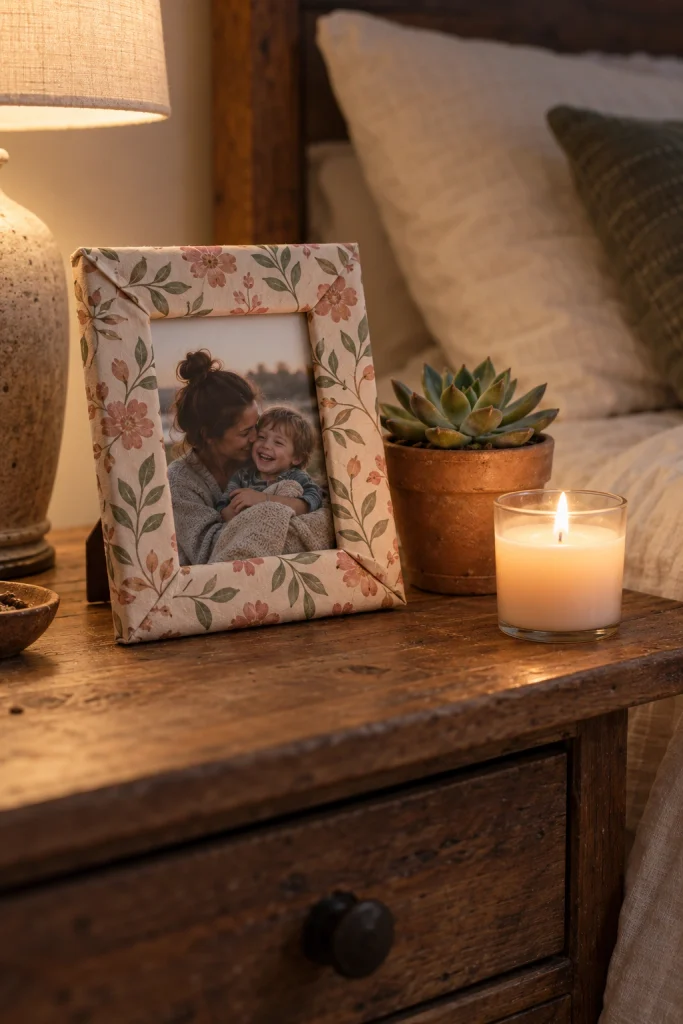
Wrapping a plain frame in paper instantly upgrades its look. Choose patterns that echo the photo’s mood or your room’s palette.
- Measure the frame’s outer dimensions and cut paper to fit with overlap.
- Wrap paper around the frame, securing edges with glue or double‑sided tape.
- Smooth out any bubbles and fold excess neatly at the back.
- Insert your photo and display on a shelf, desk, or wall.
Easy trick: Use spray adhesive for a smooth, bubble‑free wrap.
23. Paper Cityscape Collage

Building a paper cityscape lets you design a skyline from imagination. Mix textures, colors, and scales for depth and visual interest.
- Cut rectangles and triangles for buildings from various paper stocks.
- Add smaller squares for windows, and tiny circles for car wheels.
- Layer pieces, overlapping to create depth, and glue in place.
- Finish with a paper sky background and optional glitter for lights.
Handy hint: Use a ruler to keep building edges straight and uniform.
24. Paper Wallet
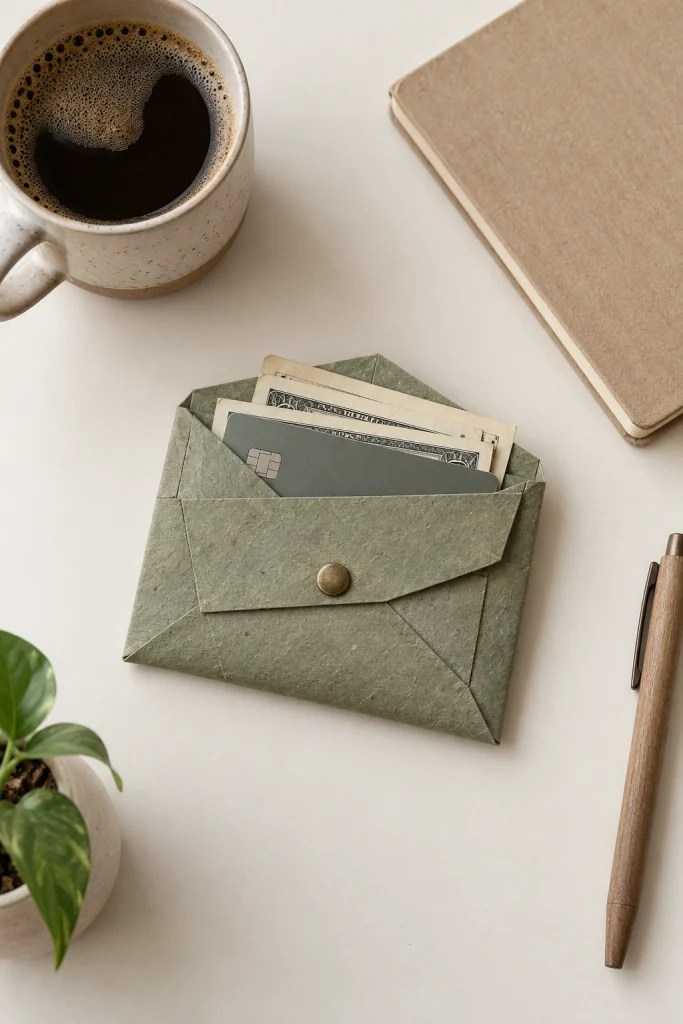
Folding a paper wallet creates a lightweight, recyclable alternative to leather. You can personalize it with stamps, doodles, or favorite patterns.
- Start with a rectangular sheet, fold in half lengthwise, then unfold.
- Fold each short end to the center crease, forming a pocket.
- Fold the whole piece in half again to close the wallet.
- Secure the flap with a dab of glue, a snap, or a Velcro dot.
Quick fix: Use a scored line to create a crisp, even fold every time.
25. Paper Confetti Popper

Making a confetti popper adds instant excitement to any celebration gathering for everyone. It’s simple, safe, and lets you control the amount and colors of confetti.
- Cut a strip of paper, roll into a tight tube, and glue the seam.
- Fill one end with a tablespoon of paper confetti, then seal with tape.
- Attach a small piece of tissue paper at the open end as a trigger.
- Pull the tissue to release the confetti in a fun burst.
Smart move: Use biodegradable paper confetti for an eco‑friendly pop.
These crafts prove that humble paper can inspire imagination and practical solutions. Pick one that excites you and gather your supplies today.
Small snips, folds, and glue lead to big smiles and satisfying results. Your next masterpiece is just a paper sheet away.